Installing A Standard Block Paving Driveway
After you have chosen the style and type of paving you want to install, the real work begins. The excavation, preparation and installation your new driveway area. We will try to break it down here to show you the process involved and how to go about it.
EXCAVATION
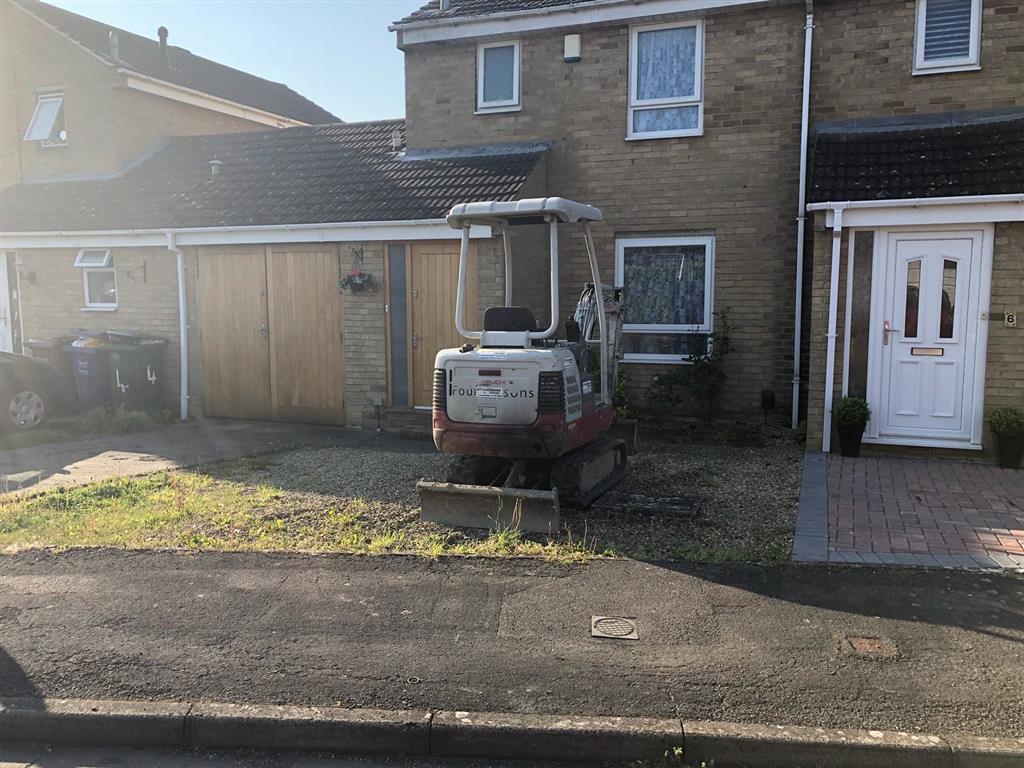
Remove the old driveway surface or lawn or whatever surface is there that you wish to install the new paving onto. The reason for this is simple. You have to install a new sub base for your paving and it needs an adequate depth for you to base it right. We recommend dropping down at least 7 inches below your anticipated finishing level.
Make sure your driveway preparation on the width is slightly wider than needed. This is to allow edging or concreting as required. Make sure if you hit clay or soft spots that you go deeper again until you hit a solid base.
EDGINGS
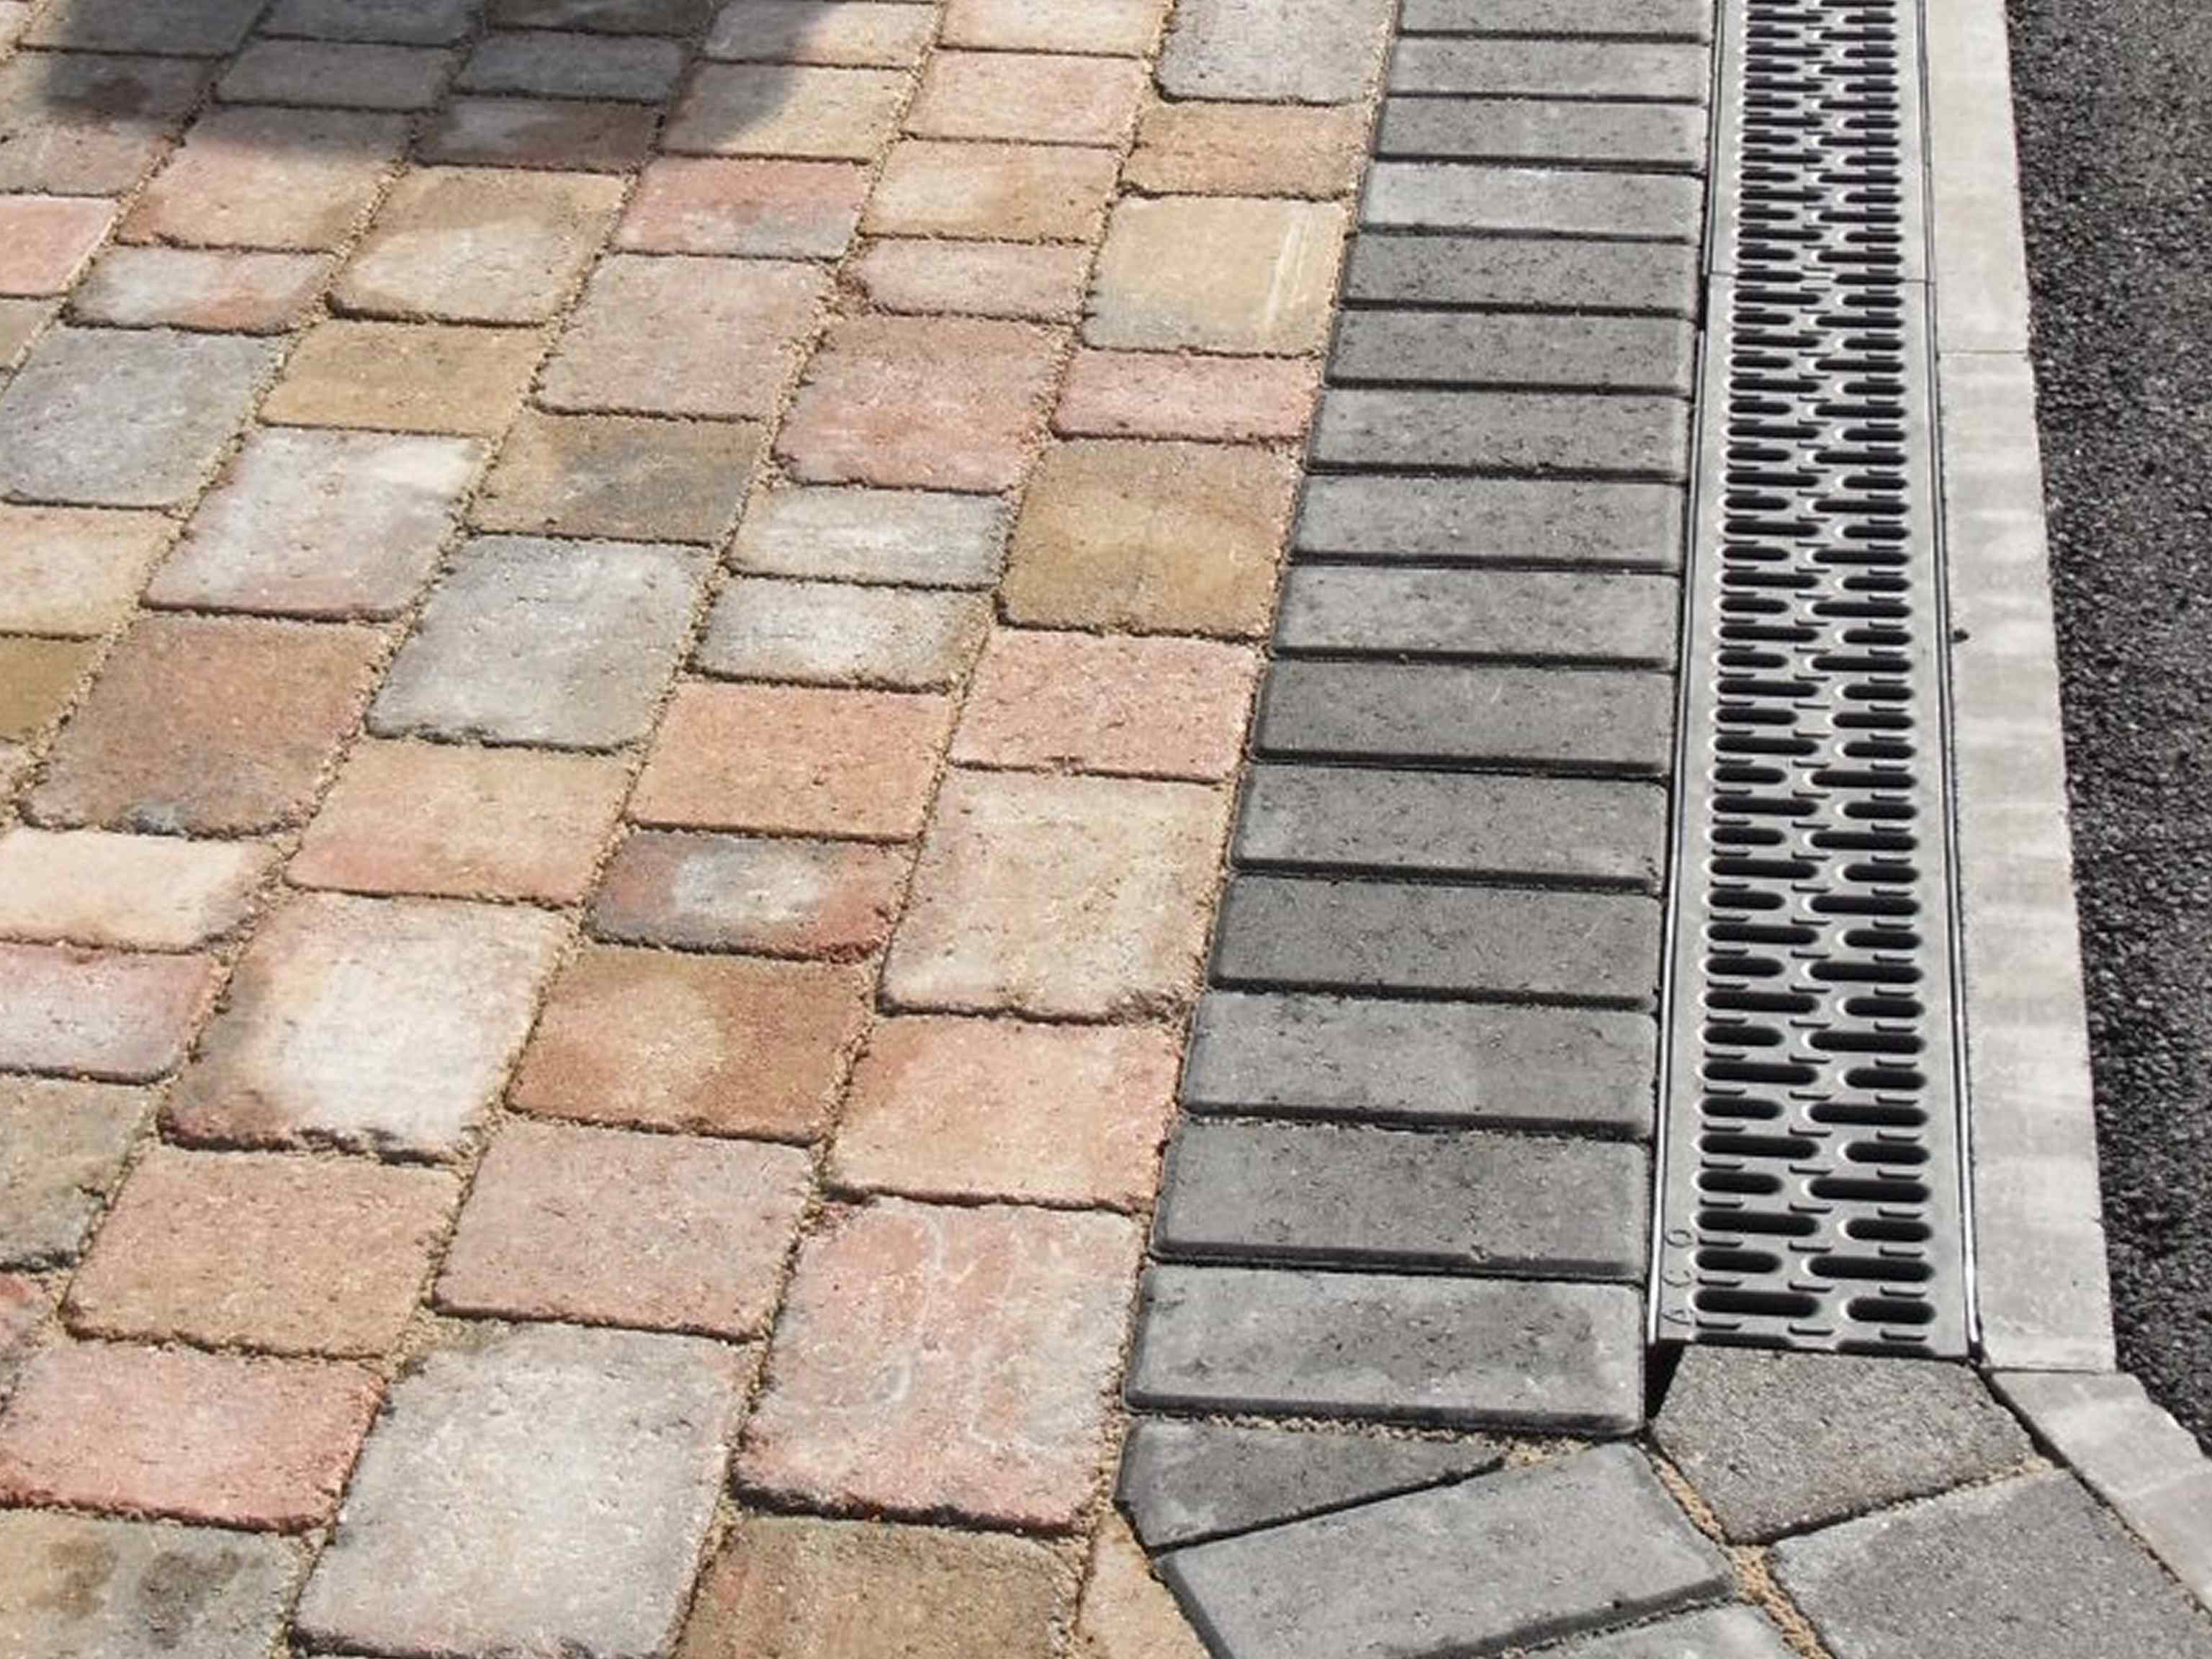
You would normally install your edgings at this stage. The area has been dug out and it is a blank canvas. The edgings will start to give it definition and help to set the finishing levels of your driveway area. Regardless if its a standard edging kerb or a block paving kerb, it should be laid in concrete and set off a level to ensure an even finish. Curve it or keep it straight, the choice is yours.
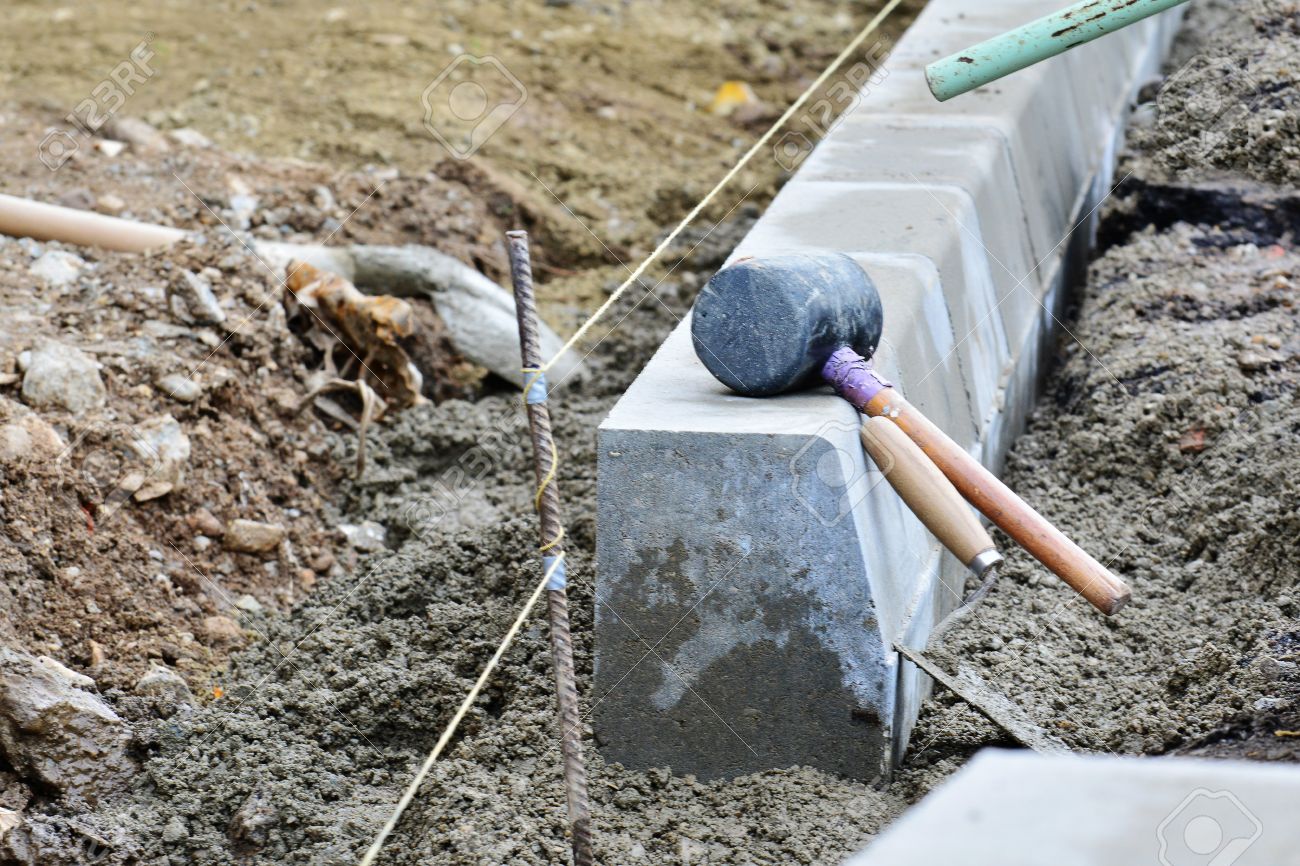
Settings kerbs to a string line
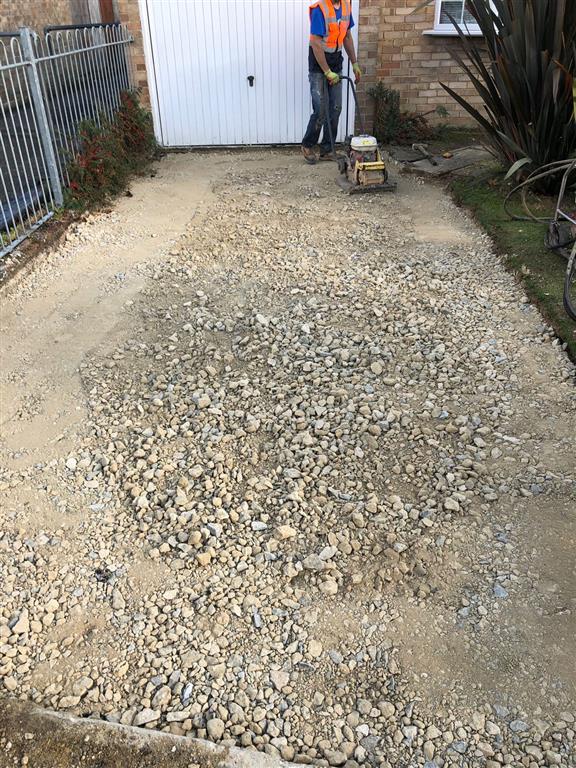
SUB BASE
Install a new sub base. A hardcore base or crushed stone is the better option for a sub base. It allows a solid compaction and is permeable to allow water to drain through it naturally. The recommended depth of the sub base should be around 4 inches. This allows a driveway to have a solid base that will be durable and withstand vehicular traffic easily.
On top of the sub base you will put your screeding base (bedding). A screeding base is normally fine grit or sand. This is generally set to an accurate finishing level, pulled off string levels to ensure water flows the right way off your finished surface. It should be around 1.5 inches in depth which again should be compacted before anything is laid on it.
PAVING INSTALLATION
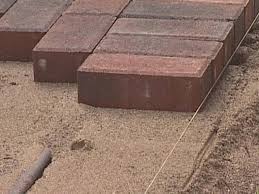 Now you will install your block paving on top of the finished bedding which has been set to an even and accurate level. You can opt to start bordering first and lay your paving off your border. Alternatively, you can pull a string level off your house if the border is going at an angle. To explain it in more simple terms, you normally will opt to lay off square to your house. If the border is not square, the paving will not be squared to the house. To get square to your house, a string line is pulled from the house and you will lay off this line to keep it square.
Once the paving has been installed in the pattern of your choice, you will have to start cutting the gaps. You can choose to use a block splitters or a Consaw with a diamond blade. The block splitters require more effort but will not cover the place in block dust that you will have if you use the diamond Consaw blade.
-

- Consaw Blade
-

- Block Splitters
Once the paving has been cut as required, you will now brush in your kiln dried jointing sand(Silica Sand). When it has been brushed in, you can compact your block paving with paving compaction machine. We recommend going vertically first over the entire driveway then horizontally. This will give it an even compaction. We recommend brushing it over once more when you have completed the compaction with another layer of kiln dried jointing sand to make sure all the joints are topped up.
EXTRAS
Now we left off a couple of things here that might apply to you. The first is concreting the outer edge. Here, we used a kerb and laid the paving right into it. If you are not using a kerb edging, you will need to concrete the border of your paving. If you do not, the paving will simply push outwards and spread.
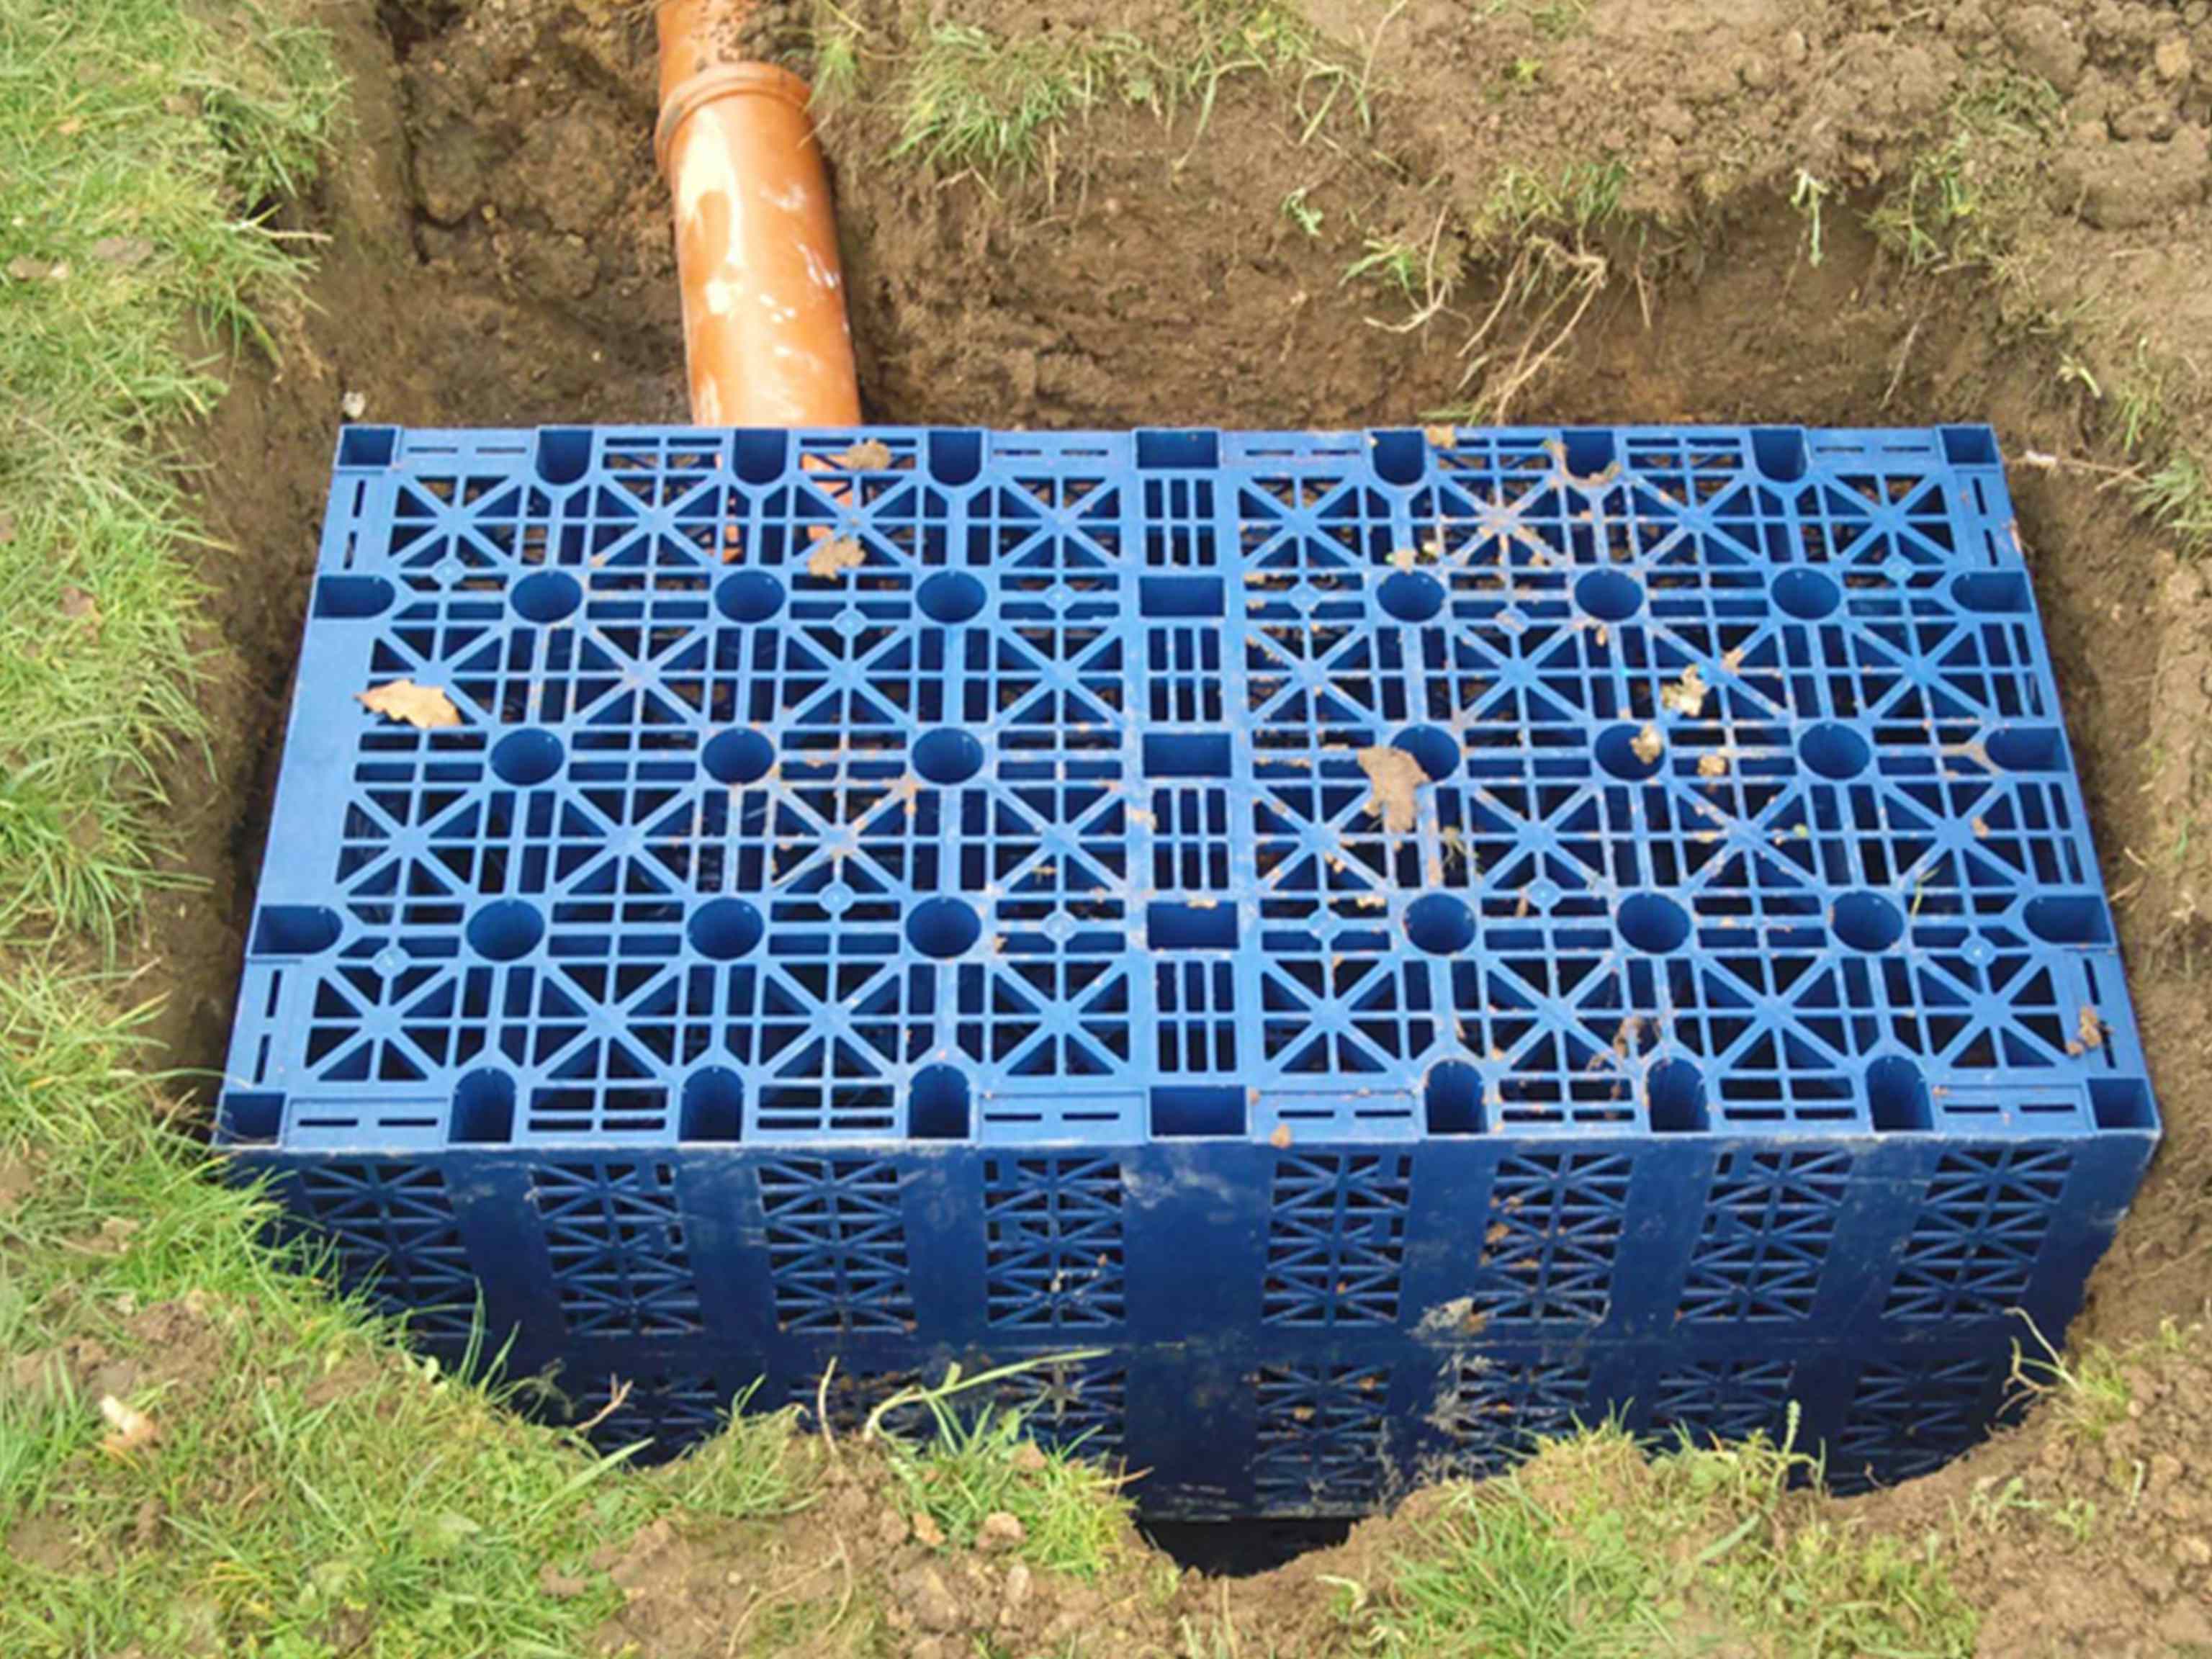
The second thing is membrane sheeting. Membrane sheeting is installed to prevent weeds growing. We recommend using geo textile membrane sheeting as its permeable but there is a lot of debate at what level to insert it. Some recommend installing it underneath the sub base of your driveway. However weeds growing up through your paving is highly unlikely if you have installed your sub base correctly.
Others recommend installing it on top of the sub base before the bedding layer. Again its unlikely that weeds will occur at this level. The most common weed growth occurs when grass seeds fall in the jointing from cutting lawns or through the air. It lands in your jointing sand and roots will reach down to the bedding sand underneath to grow.
We think the best placing for your membrane sheeting is directly on top of the bedding. This stops the weeds from growing down through the joints and reaching the bedding sand.